We all know how it feels to be stuck in a helpless situation and the stress it causes. Imagine being encountered by a dangerous person trying to harm you and there is no way for you to call for help. The stress faced here would lead to increased panic.
Worry not. Today we are going to make a prototype of a smart wearable device for distress calls that can connect to your phone via a smart app. At a simple press of button on the smart device, a help message with your current location will be automatically sent to your family member or trusted person who can then come to your rescue.
This device is especially helpful for women to make them feel safe while venturing out.
So, let’s get started with the project.
Materials Required
We will require the following basic electronic components.

Coding
Initialise the SoftwareSerial function with a baud rate of 9600 for Bluetooth communication with the smart app. Then declare an integer variable for storing the value of switch input. (Refer Fig 1.)

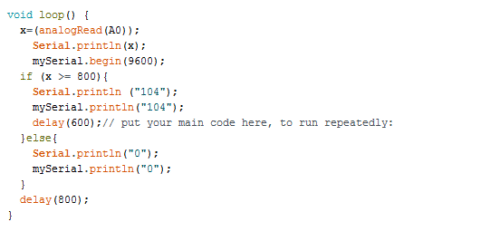
Next, create a loop function for checking the previously stored switch value at analog pin A0. We also create an ‘if’ condition for sending a unique number code to the smart app whenever the switch on the device is pressed and the condition holds true. (Refer Fig 2.)
Creating the smart app
After writing the Arduino code, let’s now make the smart app. Go to www.kodular.io, click Create Apps and create your account (sign in if you already have one). It’s free and simple for creating Android apps. Once logged in, select Create project and give it a name. Then from the list of tools given on the left hand-side of the screen (Palette), select and add the following tools for the UI display. Drag-and-drop them into the virtual phone screen. (Refer Fig 3.)
Tools
- 3 Text_Boxes
- 1 Bluetooth_Client (select Connectivity 🡪 Bluetooth Client)
- 1 Clock (select Sensors 🡪 Clock)
- 1 Texting (select Social 🡪 Texting)
- 1 Phone_Call (select Social 🡪 Phone Call)
- 1 Location_Sensor (select Sensors 🡪 Sensor Location)
- 1 List_Picker (select User Interface 🡪 List Picker)
- 1 Vertical_Arrangement (optional)
Note: The above-mentioned tools are named as components in the software, so don’t get confused.
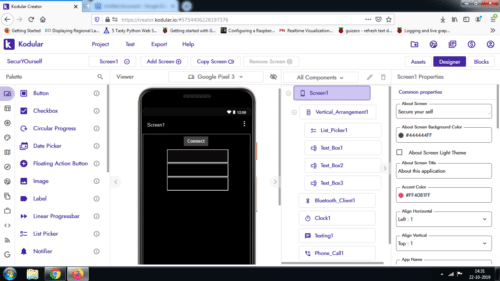
After adding the necessary tools for the UI display, click on Phone_Call and enter the phone number you wish to contact. Then click on Texting and enter the desired message along with the same phone number. (Refer Fig 4.)

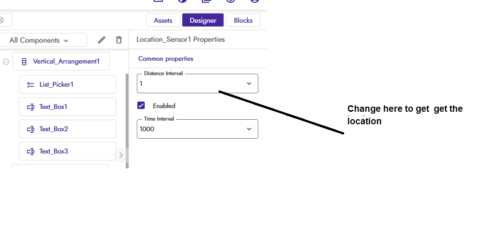
Then click on Location_Sensor to set Distance Interval to 1 and Time Interval to 1000. These numbers indicate the threshold values for time and location change with every step the user takes. (Refer Fig 5.)
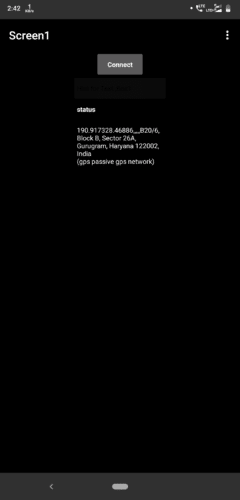
The final app layout is as shown below. (Refer Fig 6.)
Programming the smart app
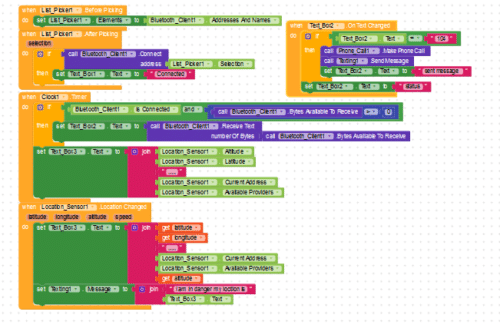
Now go to the top-right corner on the same window and select Blocks. You will see the layout for coding. Program the smart app as shown below. (Refer Fig 7.)
Connection
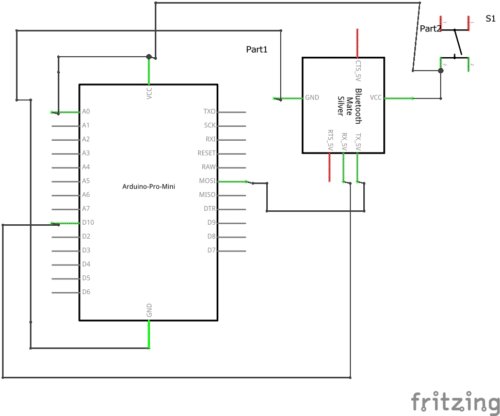
Connect the components on the Arduino board as described below
Arduino PIN 10 ————–HC 05 RX
Arduino PIN 11—————HC 05 TX
Arduino Pin GND————-HC 05 GND
Arduino Pin VCC————-HC 05 5V
Arduino A0 ——————Switch Pin
Testing
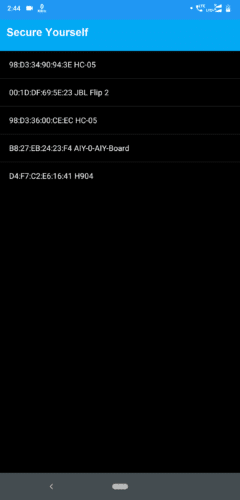
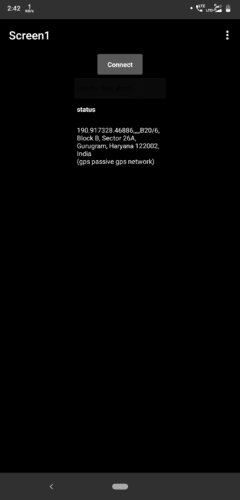
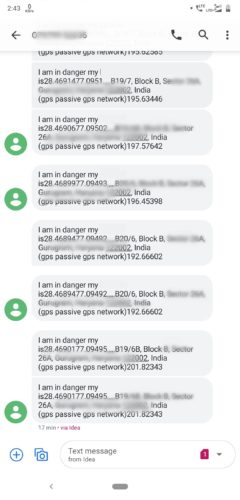
After making all the proper connections, power the device with a 5V battery and then connect the smart app with Bluetooth. On pressing the switch, the smart app will automatically send the message alongwith the location to the set phone number.


ไม่มีความคิดเห็น:
แสดงความคิดเห็น